


Grow Your Own Liners With Garden Gerberas

 February 23, 2023
 There was a time when starting a cultivation journey with stage 3 tissue culture plants would be considered complicated, difficult, and only for specialized self-rooting nurseries. As the benefits of tissue culture plants become obvious, input and shipping costs keep increasing, and growers keep developing themselves, starting plants from stage 3 TC is gaining popularity and becoming more common.

View all
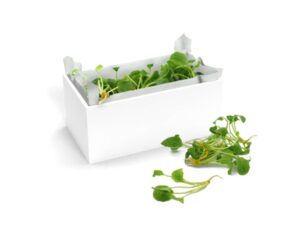
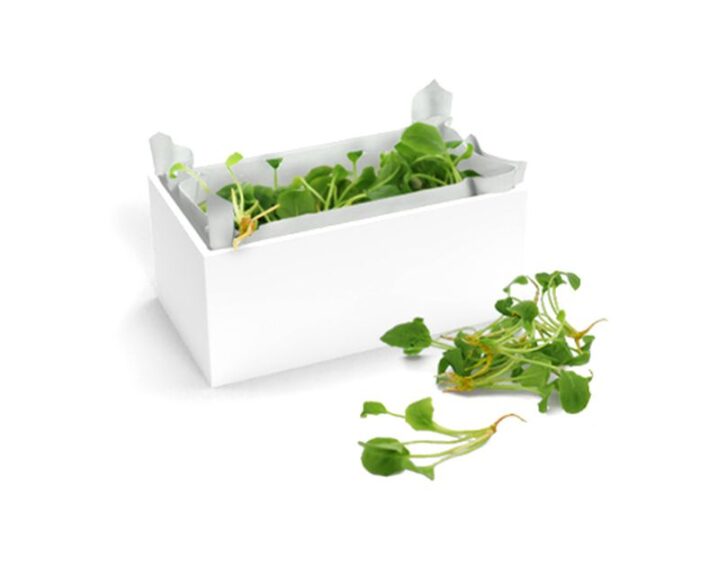
For growers with little or no experience with stage 3 planting, gerbera such as Garvinea from HilverdaFlorist are a good plant to start off with. HilverdaFlorist supplies stage 3 plants that are ready to enter stage 4 for acclimating, hardening, and creating liners. Garvinea stage 3 plants are healthy, uniform, vigorous, and resilient, with substantial roots and leaves. This makes transplanting them into liners easy, quick, and doable for growers who are already familiar with starting crops from URC or seed.
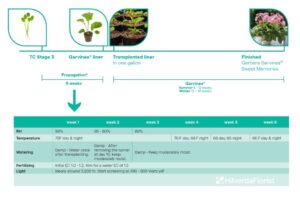
Here are the steps and key factors to successfully create Garvinea liners with stage 3 TC plants within six to nine weeks.
Preparation
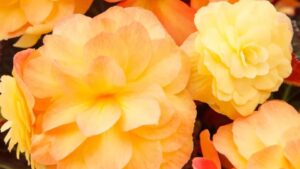
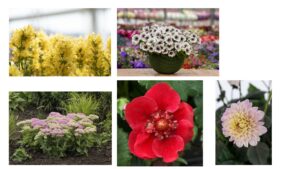
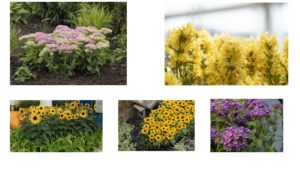
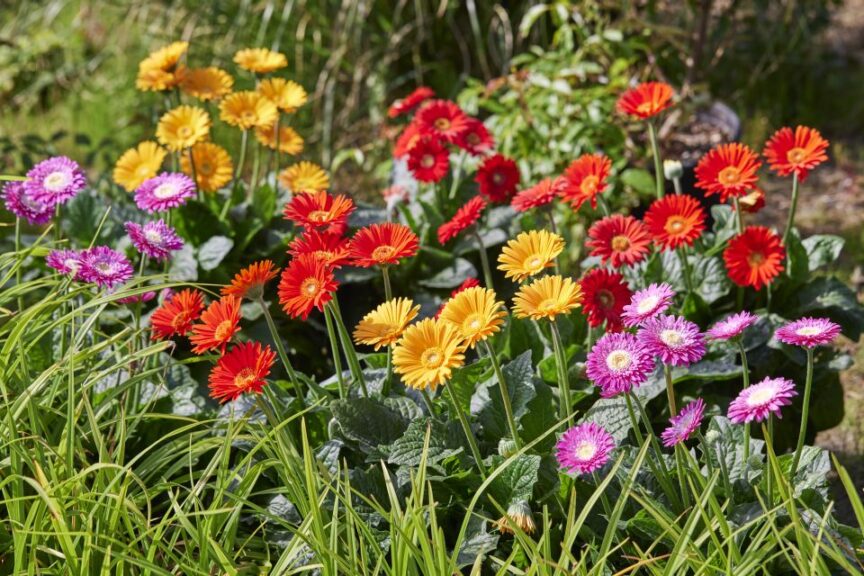
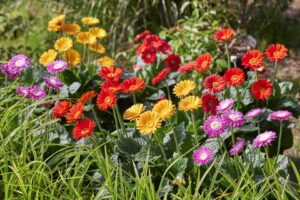
With its natural weather, pest, and disease resistance, Garvinea is a true Garden Gerbera. The series displays a unique vigor and flowering power from early spring until the first frost. You can finish them at relatively low temperatures, without PGR’s and little to no intervention of pesticides. Garvinea is quick to bloom with flowers up to 4 inches in a broad color spectrum and easy to grow and sell alongside the Echinacea MOOODZ and Salvia Salgoon Series.
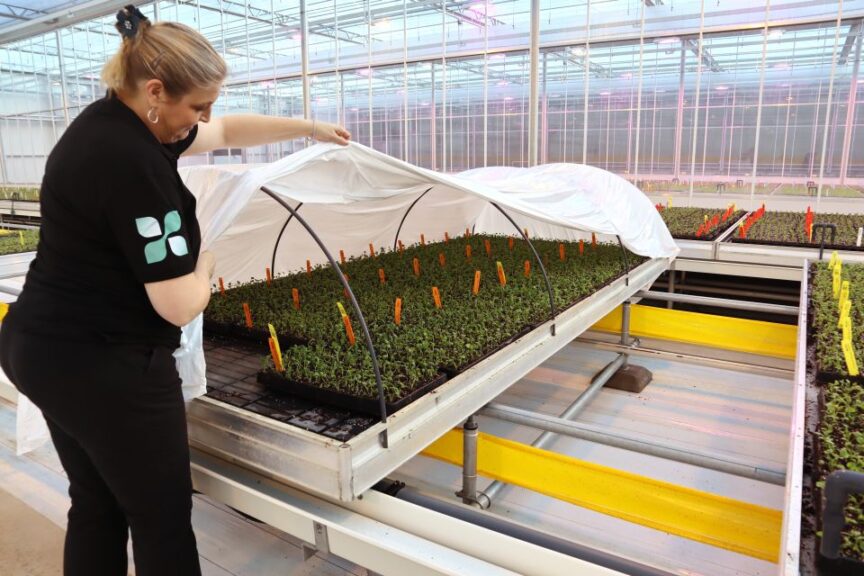
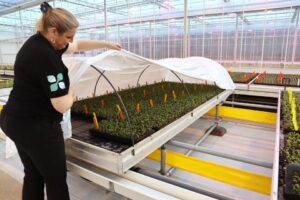
As durable as they are, keep in mind that during stage 4 the Garvinea plants still need to get used to a totally new environment. From the sterile, warm, humid, and low light environment of laboratory vessels, they will need to be hardened off to greenhouse conditions. The initial location needs to provide the opportunity to balance and adjust humidity, temperature and light. Use tunnels of white film (summer) and transparent film (winter) to reflect radiation and create a warm and humid place for rapid root growth.

For growing Garvinea liners, we recommend choosing any tray size within a range of 24 to 112 cell trays. Use a sterile, well-draining, peat/perlite mixed soil with an EC of 1.0 – 1.2 and a pH of 5.5 – 5.8. Make sure to pre-water the trays and plan for unboxing and transplanting within 48 hours upon arrival of the stage 3 plants.
Transplanting in Soil
When you receive the stage 3 Garvinea TC plants, the plants are already taken out of the laboratory vessels and the agar is already rinsed off. The plants are carefully packed in paper towels and boxed with 100 plants per box. To transfer the plants into the trays, take them out of the box and place them into the soil, using a sterile tweezer or forceps. This should be carried out gently and precisely. Stick the rooted part of the plant in the center of the cell, just deep enough to anchor them well into the soil. Make sure not to stick them in too deep.
Humidity and Water Management Is Key
When the trays are completed, water or mist them carefully so that they are evenly moist. Then, put them in a closed tunnel, providing an RH of 99%. After four days, small holes should provide a bit more ventilation. From this point onwards, start increasing ventilation by opening one side of the tunnel for a growing amount of time each day (from 0.5 up to 4 hours a day) and by gradually increasing the size of the holes. In order to maintain plant turgidity, the tunnel should be resealed before signs of wilting are visible. Generally plants won’t need to be watered during their time in the tunnel, only when dry spots are visible should additional water be applied to keep the soil damp, but not wet.
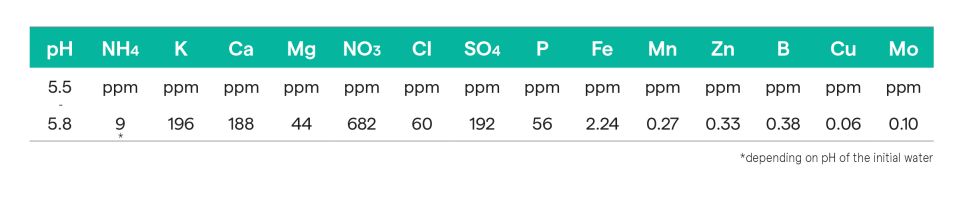
Specifications of irrigation water
After 10 days of slowly increasing ventilation, the root size should have increased enough to support the young plant, and then the entire tunnel can be removed. Check the plants regularly. In case of wilting, leave the plants in the tunnel a little longer, without adding water. Once the tunnel is removed, maintain a greenhouse RH of 80%. Water the plants only once a day by ebb and flow or overhead watering. For healthy root development, avoid overwatering and water the plants only in the morning, so they have time to dry before nightfall.
Temperature and Light
After transplanting, start providing a day and night temperature of 75ºF. From four weeks onwards, the temperature can be gradually reduced to as low as 66ºF in week 6/7, by balancing screening and ventilation in the greenhouse. Start screening or apply chalk when sun radiation outside reaches levels over 450-500W/y2.
Feeding
Use a slow-release fertilizer incorporated into the soil. Soluble fertilizers also work well. Aim for a water EC of 1.5. Maintain a pH of 5.5 to 5.8.
Ready for Finishing
After six to seven weeks, your liners are ready. Roots, stems, and leaves should have developed significantly and the plants are fully adapted and hardened to be transplanted into 6- to 8-inch pots for finishing within eight to 14 weeks.
Learn more about garvinea production here.
Subscribe to eNewsletter