


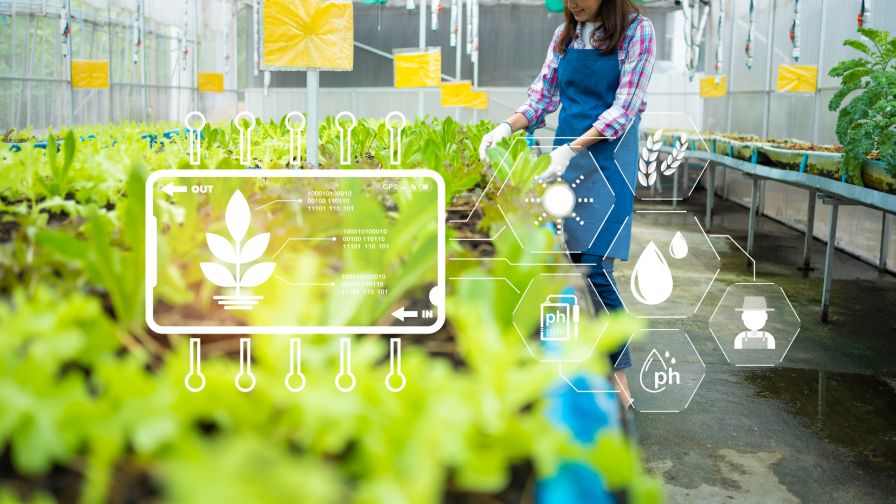
Monitor Your Greenhouse Environment With Five Easy-to-Use Tools
 September 28, 2017
 Growers attending the “Measuring and Monitoring Greenhouse Environments With Data” presentation at Cultivate’17 can be forgiven if they felt like they were in a round of speed dating. Upon entering the meeting room, the audience quickly split into five different groups, and each group went around the room, where a team of horticulture researchers each gave short presentations covering different tools that are available to growers to help them effectively manage their greenhouse environment.
Here’s a quick look at some of the takeaways from each presentation. (Editor’s note: each of these topics will be covered in greater detail in an upcoming series in Greenhouse Grower magazine).
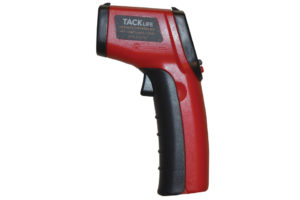 Five Tips on Infrared Thermometers (from Garrett Owen, Michigan State University
- Why use infrared thermometers? To get a rapid, reliable measurement of leaf surface, root zone, and equipment temperatures. Plus, they are relatively easy to use, and inexpensive
- Make sure you consider field of view, target dimensions, and calibration when taking a measurement.
- When selecting an infrared thermometer, you have the choice of more budget-friendly infrared guns, or pricier but more accurate thermal-imaging cameras.
- To measure temperatures using an infrared thermometer, simply calibrate, aim, and take a reading.
- It’s best to take multiple measurements of plants within a crop to determine an average surface temperature.
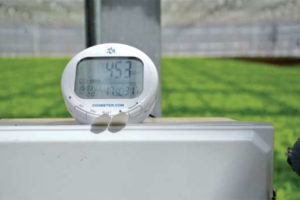
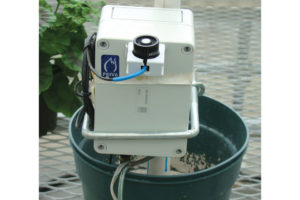 Five Tips on Quantum Meters (from Christopher Currey, Iowa State University)
- Why use quantum meters? Because footcandles don’t account for measurement of photosynthetically active radiation (PAR), which
is light between 400 and 700 nanometers used for photosynthesis. Alternatively, quantum sensors accurately measure PAR, and hand-held meters with quantum sensors are a convenient way to accurately measure light intensity. - Which quantum meter should you use? To answer this, you’ll need to decide if you want a quantum meter with a sensor built into the meter, or one with a sensor that is connected to, but separate from, the meter.
- When using a quantum meter, place the sensor at the height of the plant to record the light intensity the plants are receiving.
- If there are multiple settings on the meter (i.e., sun or electric light), use the desired setting. And make sure the sensor is clean before making measurements.
- Take as many measurements from different locations as is feasible to get the best average light intensity.
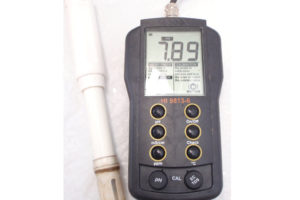 Five Tips on In-House Monitoring of pH and EC (from Brian Whipker, North Carolina State University)


- Why do in-house pH and EC monitoring? Because fertilizer, substrate, and water are the basic fundamentals for growing plants, and a plant nutrition management and monitoring program starts with knowing what is in the pot.
- When deciding what type of meter to use, consider a combination pH/EC meter. It can be a low-cost option, and most models feature easy calibration.
- You’ll need a few materials on hand to assemble a sampling kit:
• A pH/EC meter
• Saucers (5 to 10 of them)
• Sample cups
• pH standards (pH 7 and possibly 4)
• An EC standard
• A wash bottle, paper towels, and distilled water - There are a few basic steps to follow when doing a pour-through:
• Irrigate the crop
• Wait 30 to 60 minutes before starting
• Place a saucer under the pot
• Add 30 to 100 milliliters of water
• Collect 30 to 50 milliliters for sampling
• Calibrate the meter
• Test three to five pots per group for a representative sample - Be sure to track the values over time. You can do this using a Web-based PourThru pH and EC app, available through GroZoneTracker.com.
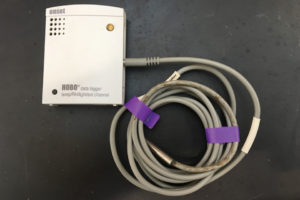 Five Tips on Data Loggers (from Brian Krug, DuPont Pioneer)
- Why use data loggers? To use as a check mechanism for your environmental control system and to troubleshoot environmental condition issues by recording temperature, relative humidity, light, etc. over time.
- When selecting a data logger and sensor, consider what your needs are. Data loggers range widely in price. More expensive models usually allow for more flexibility and data points. Less expensive models may be adequate for your purposes.
- Take only the amount of data that you need. Some data loggers can measure and record data every millisecond. This will require lots of memory and can take more effort to interpret. For most growers, recording data every 15 minutes will be sufficient.
- Determine how you want to read your data. Some data loggers require you to connect it to a computer to download the data. Other data loggers do not have the ability to download the data, and you must record it by hand.
- Be sure to place your sensors connected to your data logger in appropriate places. Temperature sensors should be shielded from direct sunlight and light sensors should be placed so that they represent the light received throughout the day, not shaded by the greenhouse structure for the entire day.
 Five Tips on Measuring Carbon Dioxide (from Roberto Lopez, Michigan State University)
- Why measure carbon dioxide? Because growers should be concerned when the CO2 concentration drops below 400 parts per million, as it negatively influences plant growth, even if supplemental lighting is used.
- Handheld and computer-controlled CO2 sensors need to be calibrated before use.
- Environmental computer-controlled sensors can be used to inject CO2.
- The cost of carbon dioxide enrichment depends on several factors, including the method of CO2 enrichment (burner, compressed, or liquid tanks), the number of hours enrichment is used, and the cost of the CO2 gas.
- The air leakage rate of the greenhouse, as well as the amount of venting during enrichment, can affect CO2 enrichment success.
Subscribe to eNewsletter